Ok, I know what you're thinking, there are already a lot of pillowcase tutorials out there in Blog-land. It seems that everyone has their own version of the 15 minute pillow case tutorials, which are great, and I have recently made some that way myself, but what about that great fabric that has a directional print..going the wrong way?
Yes, you could just cut the fabric 44" in length and then trim 8" off the sides, but what a waste of fabric!!
For years I've been making pillowcases this way..and they turn out just as cute, and still have completely enclosed seams, but uses LESS fabric than the 15 minute pillow case..
Before we get started, an explanation of terms and additional information for purchasing the right directional fabric for this tutorial.
1. Main fabric ~
This will be the directional print fabric you will be using for the body of your pillow case. You
should look for a fabric that is printed so that when you are holding the bolt horizontally, the
print is facing the correct direction, like so:
2. Contrast fabric ~
This will be a solid or print that contrasts, but still ties in to the main fabric, for example, were I to
use the flannel in the picture above, I would choose a Pink, or one of the darker purples to
coordinate. If you were to choose a print for the cuff, it should be printed in the opposite manner
of the Main body fabric.
3. French seam ~
A french seam is a technique used in high end fashion that encloses the raw edges of your fabric.
No need to worry, I show you how to do those in the instructions!
4. Top stitching ~
| A sometimes decorative, sometimes functional stitch that is usually 1/4" from the edge of a seam. It is visible because it is done on the top of the item.This can be done in same or contrasting thread, depending on the decorative effect one wishes to achieve. |
5. Cutting ~
If you are new to a cutting mat and Rotary cutter, there are a lot of tutorials out there, but I think this
is one of the best: http://www.sewingweb.com/Projects/RotaryCutting/
If you will be using scissors, measure out 22 inches on the fold edge, mark with a pin, and measure
again to confirm. It's just like you learned in shop class, measure twice, cut once. Repeat on the
selvage side. Now laying your fabric flat, carefully cut straight across the fabric from 1 pin to the other.
What you will need:
22" by WoF of your Main fabric
12.5" by Wof of your contrast for the cuff
General supplies:
Thread to match
Sewing machine
Rotary cutter and mat or other measuring/cutting combo
Pins
Iron and ironing surface
First we are going to make the body of the pillowcase using a french seam.
Trim off your selvage,
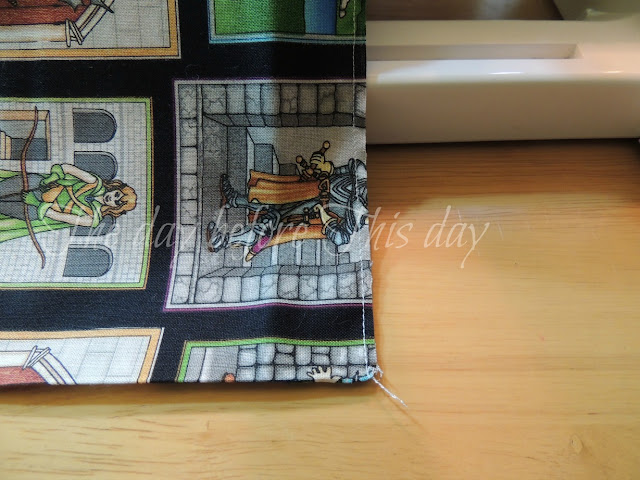
and then with a 1/8" seam allowance sew down the long sides wrong sides together.
Now we will turn our pillowcase inside out and press those seams to one side or the other.., then fold the case so that the sewn seams are on the long edges, and press flat.
Now, sewing with a 3/8 seam allowance, sew the long sides of the case Right sides together, this seam will encase the raw edges of the fabric for the body of our case.
Take a little break to cook lunch for the family, and nab a cute kitty pic..start editing the picture only to then realize just how dusty the TV stand (where said kitty knows she isn't allowed) is and decide NOT to post it on the blog..and assign dusting to a minion ASAP..and move on to the cuff portion of our tutorial.
First you'll want to press your 12.5" x width of fabric piece open. Then you are going to fold the long edge down to 1/2' above the bottom long edge, and press the fold, like so:
When you open the fold back up, the side with the crease tented up will serve as our right side when we sew our cuff loop.
So, Now we will take our short ends and match them up, right sides together. You should have a 5-8" seam allowance, but since fabric widths vary, Lay out your case body, and, matching your short fold to one side, use a pin or a pen to mark on your cuff piece, where the case opening ends..For the visual learners out there:
This will mark your seam allowance for your cuff. Sew the short sides together, press seam open.
Next, pin your cuff to the case body, making sure that you are pinning the short side of the creased fabric, wrong sides together.
Sew cuff on using a 3/8" seam allowance. Pull cuff fabric out, then turn the entire case inside out and press the seam towards the cuff like so:
 | |
| This is where I notice a trend, My machine could use a good cleaning too..Didn't I *just* do this?!?! |
USing the crease as a guide, fold your cuff down and over the seam allowance, turn edge under 1/2" and press, being sure the the original fold line stays true.
Now, using a 1/8-1/4" seam, top stitch your cuff down along the crease that you just created.
Put a pillow in and marvel at your pillowcase..with the fabric going the right direction ;)
These make a great Gift, or, I've been known to make one to use as a gift bag, it just doesn't get much greener!
'til next time,


No comments:
Post a Comment