

I didn't use a pattern or tutorial for it, although I have seen these type of covers many times in blogland.
I started with a line drawing of a dress form, which you can find here. You can use a transfer pencil, or do as I did and just lay the drawing under my white fabric and trace it. Then, using 3 strands of embroidery floss for the form, and 2 strands for the stand, I used a simple backstitch to stitch out the drawing.
After the embroidery piece was finished I just cut and added fabric pieces in a log cabin style manor until I had a large enough block for the front of my cover. For the back of the cover, I pieced together some large scraps. After sewing both sides of the cover together, I pressed and pinned it to my batting. Since I didn't plan to use a binding, I quilted the top of the cover to the batting only.
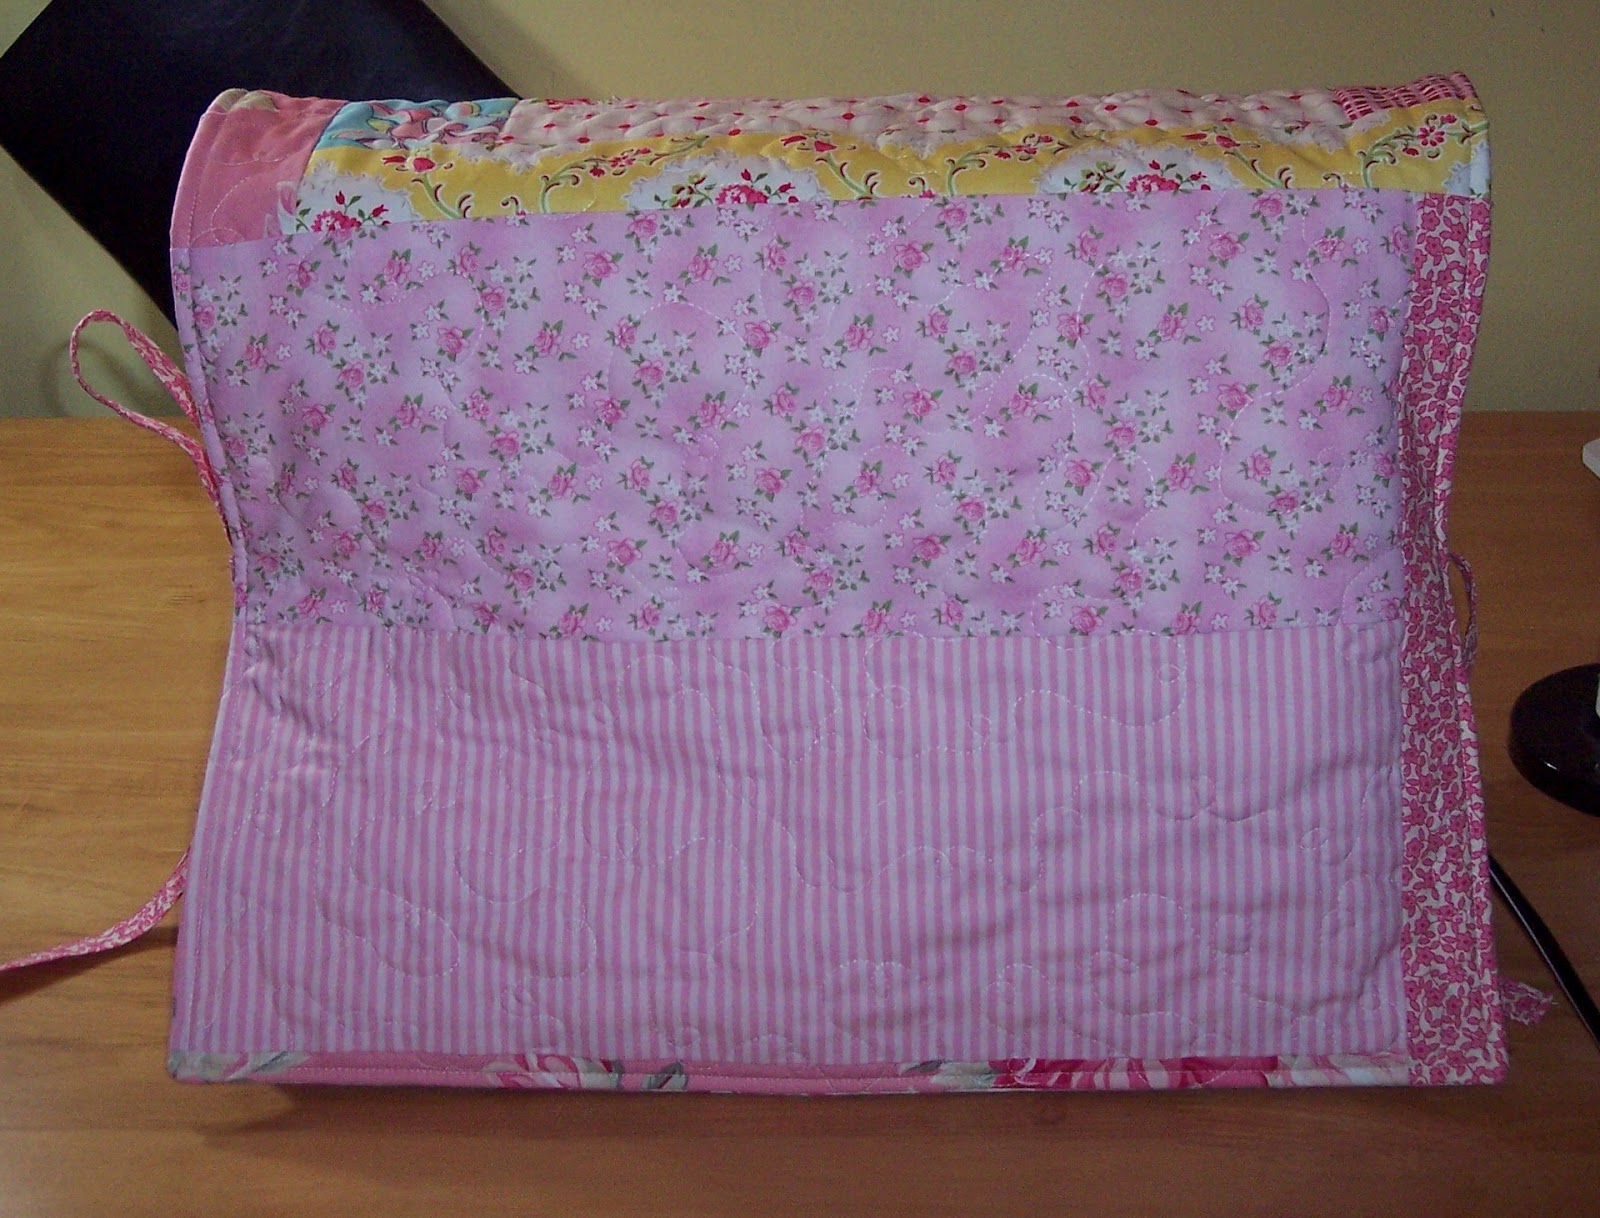
I added some ties and a pretty backing. Sewed them together right sides facing, leaving a hole for turning. Clipped my corners, turned and top stitched around the entire outside edge, closing the hole with the top stitching.

Tied it on, and just that easy, Jan has a new reversible cover for when she's not in use!
Stay tuned for more projects as I work on redoing my sewing room!

Linking up to these parties!
Handmade 52
Craftastic Monday