Showing posts with label crafting. Show all posts

Sunday, January 20, 2019

Challenging Challenges

Over the past several months, I've been enjoying my cross stitching again. It had fallen by the wayside over the years, so it has been wonderful to get back to it.

At the end of last year, I decided to challenge myself to make 2 ornaments a month. (If you'd like to join me use the hashtag #2amonthsal) Since I will be making some of my ornaments from a couple of  my books, these will also be part of the #craftbookchallenge.
I've created facebook groups for the 2 a month SAL and the Craft Book Challenge.

You can find the 2 a month here. and the Craft Book Challenge here.

While most of my ornaments are likely to be stitching, I do plan on a few quilted and crafted ones as well, don't feel like you can't join in if you aren't a cross stitcher, The point is to make 24 ornaments for your tree/gift giving by Christmas.

In the past week, I've also jumped in on a couple of stitching challenges,  #stitch9challenge and #yearofwips2019. To make things even more complicated, In YOW, you can "upgrade", so to speak, to extreme by adding as many wips as the number of your birth date (1-5 get special rules..N/A here)
My birthday is April 30, so I added an additional 30 wips to my challenge.


Here are my picks for these challenges. All of them are part of the Year of Wips, or YOW, so I am only notating the Stitch 9, and 2 a month.


Works of Jane Austen Mystery SAL
Stitch 9 


1801 House by Chessie and me


Olde World map by Diane Thomas for Janlynn 
Stitch 9 


Super Star Mario by Nintendo America INC
Stitch 9 


2019 country Christmas ornaments club
series counts as 1 for Stitch 9, 12 for yow and 2 a month

Tritons Treasure by The Stitching Parlor
Stitch 9


Little Red Bird by La-D-Da
Stitch 9 


Dragon Heart by Black Swan


At Home with Jane Austen by The Sampler Girl
Stitch 9 


Aure Fairy by Fanta-Cat designs
Stitch 9 


Wolf Moon by The Stitcher's Habit
Stitch 9 


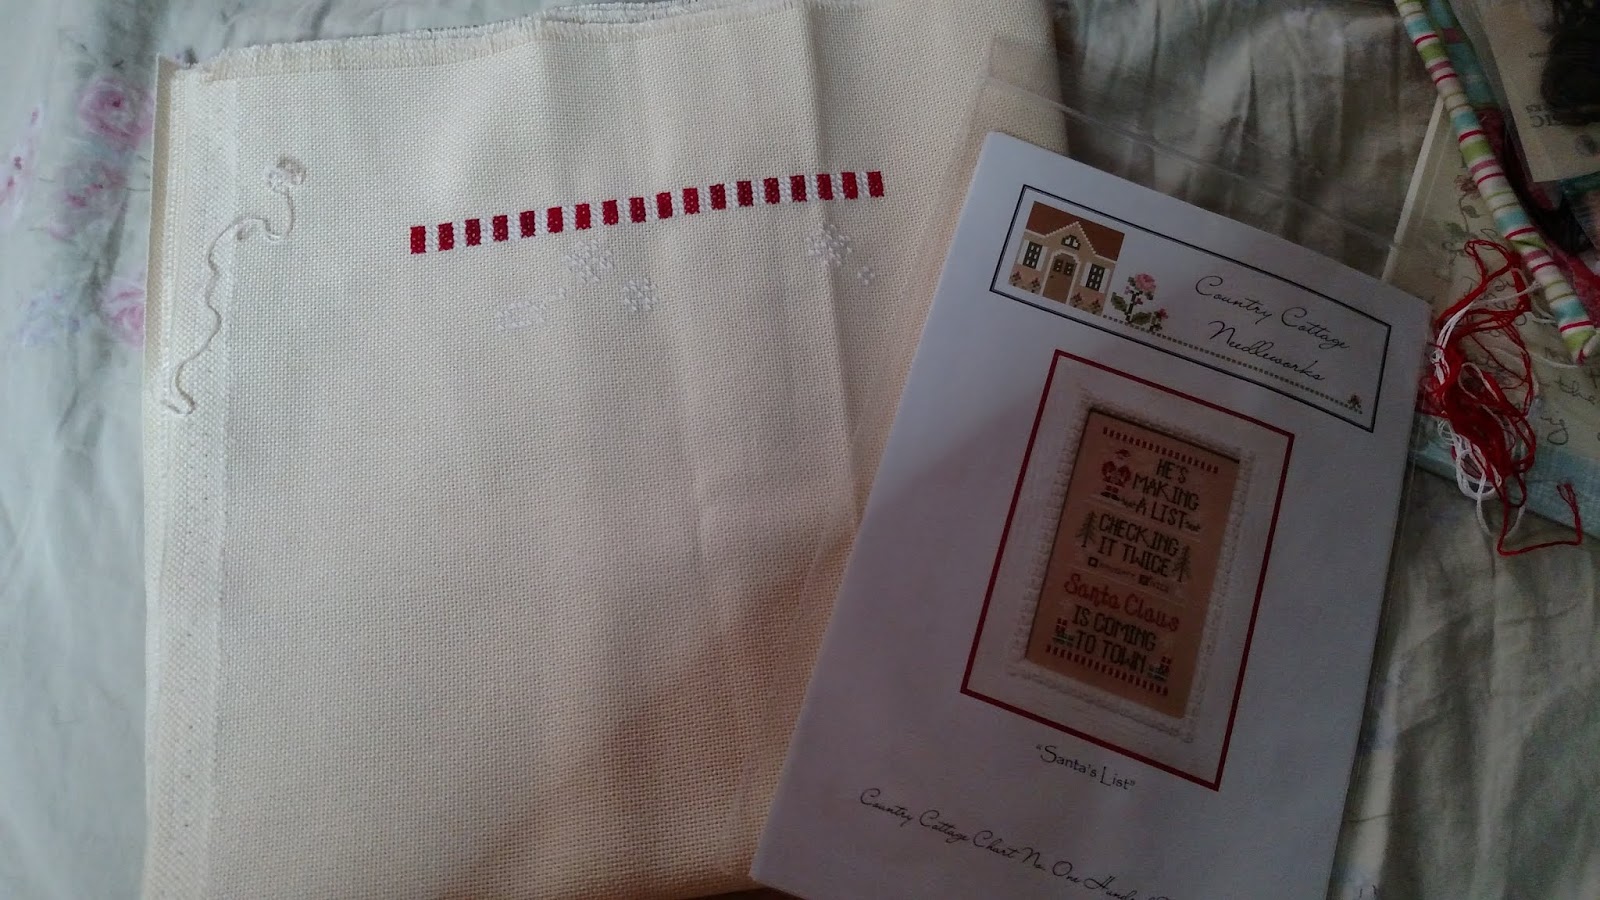
Santa's List by Country Cottage Needlework

Enchanted crow by Threadwork Primitives


Beggar's Night by Threadwork Primitives


Bats in the Belfry by The Drawn Thread


Casting a Spell by Blackbird Designs


Welcome to the forest by Country Cottage Needleworks


Yikes by Erica Michaels


Noah's Christmas Ark 2 by Plum Street Samplers
Only stitching the honeybees for sure this year
2amonth


 Noah's Christmas Ark 3 by Plum Street Samplers
Only stitching the Whales for sure this year
2amonth


Vintage Christmas by Country Cottage Needleworks


Jinx by Raise the Roof designs


Quaker Bat by The Workbasket
Stitch 9 


 Winter Row by Bent Creek

So there they are..I tried to get a good mix of small, med and large designs. Some are certainly more simplistic, though not necessarily due to their size.


I'll be back soon with challenge updates and news from the sewing room soon!
M

Sunday, July 6, 2014

Behind the scenes..


I am often asked what pattern I use for my various creations, so I thought I'd share with you all my dirty little secret..

I don't.

Like, Never.

OK, more like hardly ever.

Still...

I think the last time I used a pattern was at least a year ago..and honestly, I haven't even finished it.

When I am getting ready to make something that I am planning to make more than one of, I make one, taking notes as I go.


When it's finished I notate what I feel needs to be changed or adjusted, or not, depending on how the project went.

If a pattern piece is needed, I make a rough sketch and play with it until I get the result I'm looking for.

Once all adjustments have been made, a final draft is put into my master sketchbook, signed and dated for copyright reasons. The added bonus to doing this is that I can then trace each pattern piece onto plastic (Shelf lining plastic for wire shelves is perfect for this)


Take, for example, the shoppers I have been working on this weekend.

This first one had some issues, mainly pertaining to the interfacing choice, that made the finishing problematic.
Note the upper edge..
Due to the stiffness of the pellon 70 I used and the smaller seam allowance, turning the edges under for top stitching the opening closed was a bit of an issue. So, for the next round I have switched to Pellon 926, along with Pellon Decor Bond and increased the seam allowance to 1/2" which will fix that issue.

The other change that needed to be made was on the pen channel. This pen fits just fine, but I felt it needed to be wide enough to fit a marker or highlighter so I made a note to adjust my sewing lines to allow for a wider channel.


So, now that I know what did and didn't work, I cut a small run.

I limited the run to 6 in all, nixed the ric rack for expediency's sake, and changed out the original magnetic snap for velcro (due to availability..I've only 4 more sets of snaps!)

Here are my cut pieces prepped and lined up..


And the finished products..


Now that this run is finished, I am mentally kicking myself because I'm still not 100% satisfied. I think I want to make it more narrow, it feels too wide..but that is for another time, as right now I have a living room full of hungry guys waiting patiently for their dinner ;)

In Stitches,
Michelle


Saturday, December 7, 2013

An oldie, but goodie, Junky snowman ornament tutorial

I posted this 2 years ago, but thought it was time to share it again, just in time to adorn your Christmas tree!


Haaaaaapy Birthday!!


No..It's not my birthday, nor is it my blog's birthday, but when I finished these cute ornaments I immediately thought of good Ole Frosty the Snowman, and the first words he utters when he comes to life.
I'm going to tell you how you can make your very own!
For those of you who don't know me, one of my favorite places, (besides Thrift Stores, Antique malls and craft stores lol) is the hardware store. Now normally, you'll find me shopping at Home Depot, BUT Here lately I've discovered that the Menards 20 minutes away actually has about 3 times the selection (*Gasp* I know, Right?) and is actually quite a bit cheaper (Sorry HD...I still love you though!!)  So while Hubby and I were out for a rare date night (Endless Shrimp anyone?!?!) we popped into the Lancaster menards to look for smaller packs of peg board hooks (which they had..Menards 1 - HD 0) and some lazy susan hardware at a reasonable price (Menards 2 - HD 0) and while standing there looking at their unbelievable selection of hex nuts (once again, menards scores..3-0, menards' game) I was inspired. I just happened to see them in my head, Hardware snowmen! and you really can't beat the prices! I got enough hex nuts to make 6 snowmen and it was a whopping $4.42..including tax. Except the wire, I had that already, and it was purchased at Home Depot.

So here's your Shopping list:


24 gauge wire
E600
snowman body:
5/8 hex nuts
1/2 hex nuts
3/8 hex nuts
Hat
1/4 flat washer
2 1/4 hex nut OR 1 1/4 hex and 1/4 hex cap

Extra 1/4 hex nuts or beads/bells


1:  set a 5/8 hex nut on your working surface.

2: spread some E600 on one side of the 1/2 hex, place it, glue side down, onto the 5/8 hex.

3. repeat for the 3/8 hex.

4. on wrong side of the flat washer put some E600, place it onto the 3/8 hex

                                     
5. repeat for 1/4 hex

6. repeat for second 1/4 hex or hex cap.

7. set aside to dry

8. While snomen are drying, cut your wire into 5-6" pieces. Bend in half

9. half way down from the loop you formed in step 8, tie the wire into a loose knot. this can be done, it just takes a minute to work it into the right shape.

10. Slide your hex/bead/bell on 1 strand of wire. twist both strands together locking the bead onto the wire.

11. wrap extra wire up and around the top of the bead, this will be hidden between the snowman's hat and the bead.

12: thread the flattened loop throught the hex nuts and out the top of the snowman's hat. spread wire loop for hanging. and Voila! A hex nut snowman!

If you make one, please let me know, I would love to see them!

I party with Remodelaholic