Today I thought I'd share how I made my fabric envelopes for my coupons. These could be used for so many other things, the cash envelope system, a savings tool for children, just to name a few that popped to mind at the moment.
Don't be afraid of the number of steps in this tutorial, I will be giving complete step by step instructions so that even the most novice of sewing enthusiasts will be able to whip these up.
What you will need for each 4" x 8" envelope.
Vinyl - 2" x 3" piece
(this is usually sold with tissue paper between the layers, do NOT discard, you will need it to sew with.)
Binding- 1.5" strip for binding the edges of the vinyl
Decor bond - 9.5" x 8"
Outer fabric- 10" x 8.5"
Lining fabric - 10" x 8.5"
Velcro - 5" piece
Thread
scissors
ruler
pins
sewing machine
Iron
We will begin with binding the edges of our vinyl window.
1. Take your 1.2" binding strip and trim the selvage off one end. fold the top corner down to the bottom edge of the strip (wrong sides together) to for a diagonal end. press.
2. fold binding in half, wrong sides together. press.
3. making sure that the tissue paper is under your vinyl piece, line the raw edge of the binding strip to one of the 3" sides of the vinyl, with the point ending 1/4" shy of the bottom corner. sew with a 1/4" or scant 1/4" seam allowance stopping 1/4" from corner. back tack and remove from machine.
4. fold binding strip up to line raw edge up with 2" side of vinyl hold diagonal fold, then fold the strip straight down. sew along edge and stop 1/4" from corner and remove from sewing machine.
5. Repeat step 4 until you reach the straight edge of your diagonal fold that you began with.
6. trim off your strip and feed under the straight edge. the diagonal fold will hide for a casing for the raw end of your binding, hiding it inside.
7. trim threads and remove tissue paper.
8. flip window over and pull folded edge of binding to the front. it will look like a shallow box at this point.
9. starting with your ending/beginning diagonal fold, fold against the vinyl and sew down. when you get close to a corner, fold the other side down to for a mitered corner, turn and continue sewing next side of the binding down. repeat until all sides have been sewn down.
10. trim threads and set aside.
Now we will work on the body of our envelope.
1. Press decor bond to back side of lining piece, centering so that 1/4" of material "frames" the decor bond.
2. press outer fabric. place right sides together with the interfaced lining and pin around edges.
(this is me, not following my own instructions about pinning...I highly recommend pinning!)
3. with a 1/3" seam allowance, and starting on a lower side, sew around the edges, making sure to leave a 2" gap for turning.
(helpful hint: when you get to the end of your sewing, turn your fabric and sew across the seam allowance, this will make it easier to fold your edges in after it is turned)
4. trim corners
5. turn right side out, using a turning tool, or blunted point to poke corners out.
6. press, being sure that your opening is even with the rest of your outside edge.
7. top stitch across the bottom edge
8. finding your fold. Now we will bring our bottom edge up, lining sides
together, to form the pocket of the envelope. I folded mine so that
there were 2" of my fabric piece sticking up to form the flap that will
fold over to close. Press the fold.
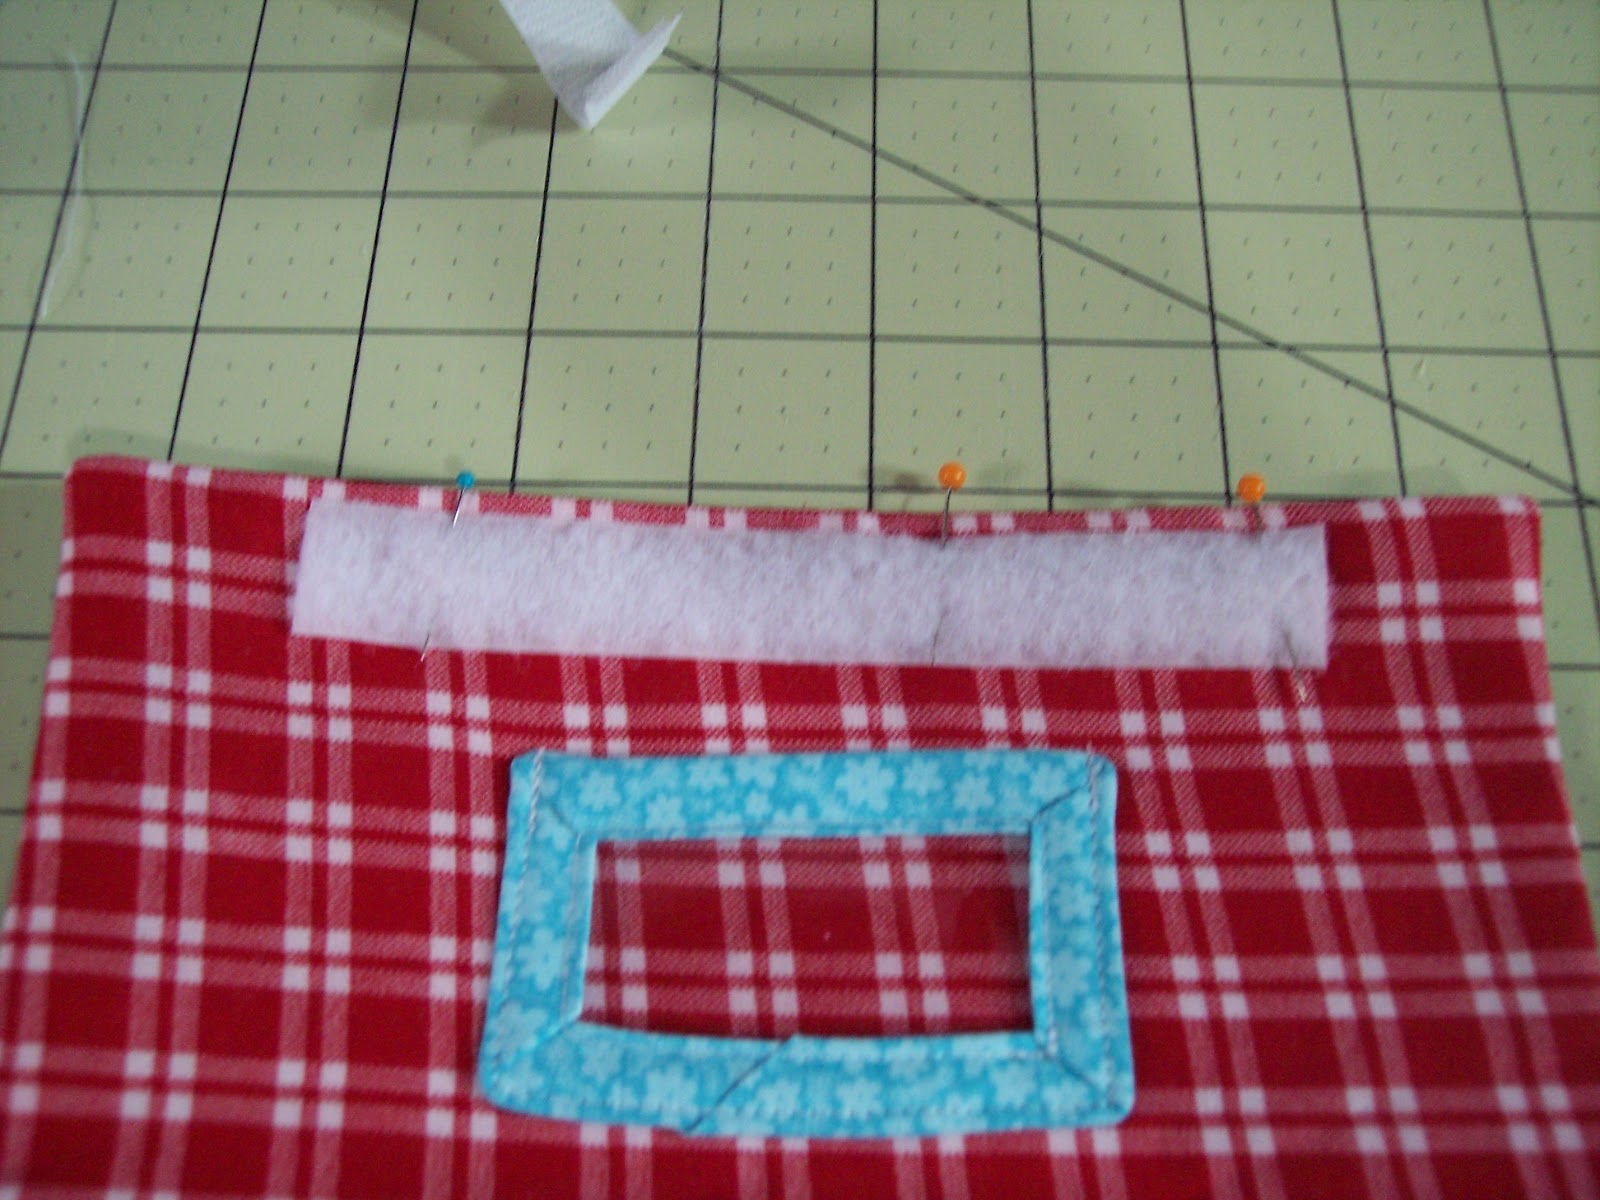
9. Adding velcro. Here you will be adding velcro to both sides of your fabric piece. On the bottom of your piece we will be working on the outside fabric. Pin fuzzy side of the velcro down along the edge, maching the top of the velcro to your top stitching. Sew into place.
.
(As you can see, in this picture I had already sewn on my window, for the rest of them, I discovered it was a much better idea to velcro first!)
Now on the top edge, and lining side of your project pin the sticky side of the velcro and sew into place
10 Now that you know where your bottom fold is, place your label window centered between the bottom of the velcro strip and the fold. Sew into place making sure to leave the top edge open for labeling
.
.
11. creating the pocket. starting at the bottom left hand corner, top stitch around both side and the top flap. (you can also edge stitch the bottom if you like, it isn't necessary, but some prefer the look) reinforcing the stitching at the top of the pocket.
Print or write out your label, insert it into the window and you are ready to go!